
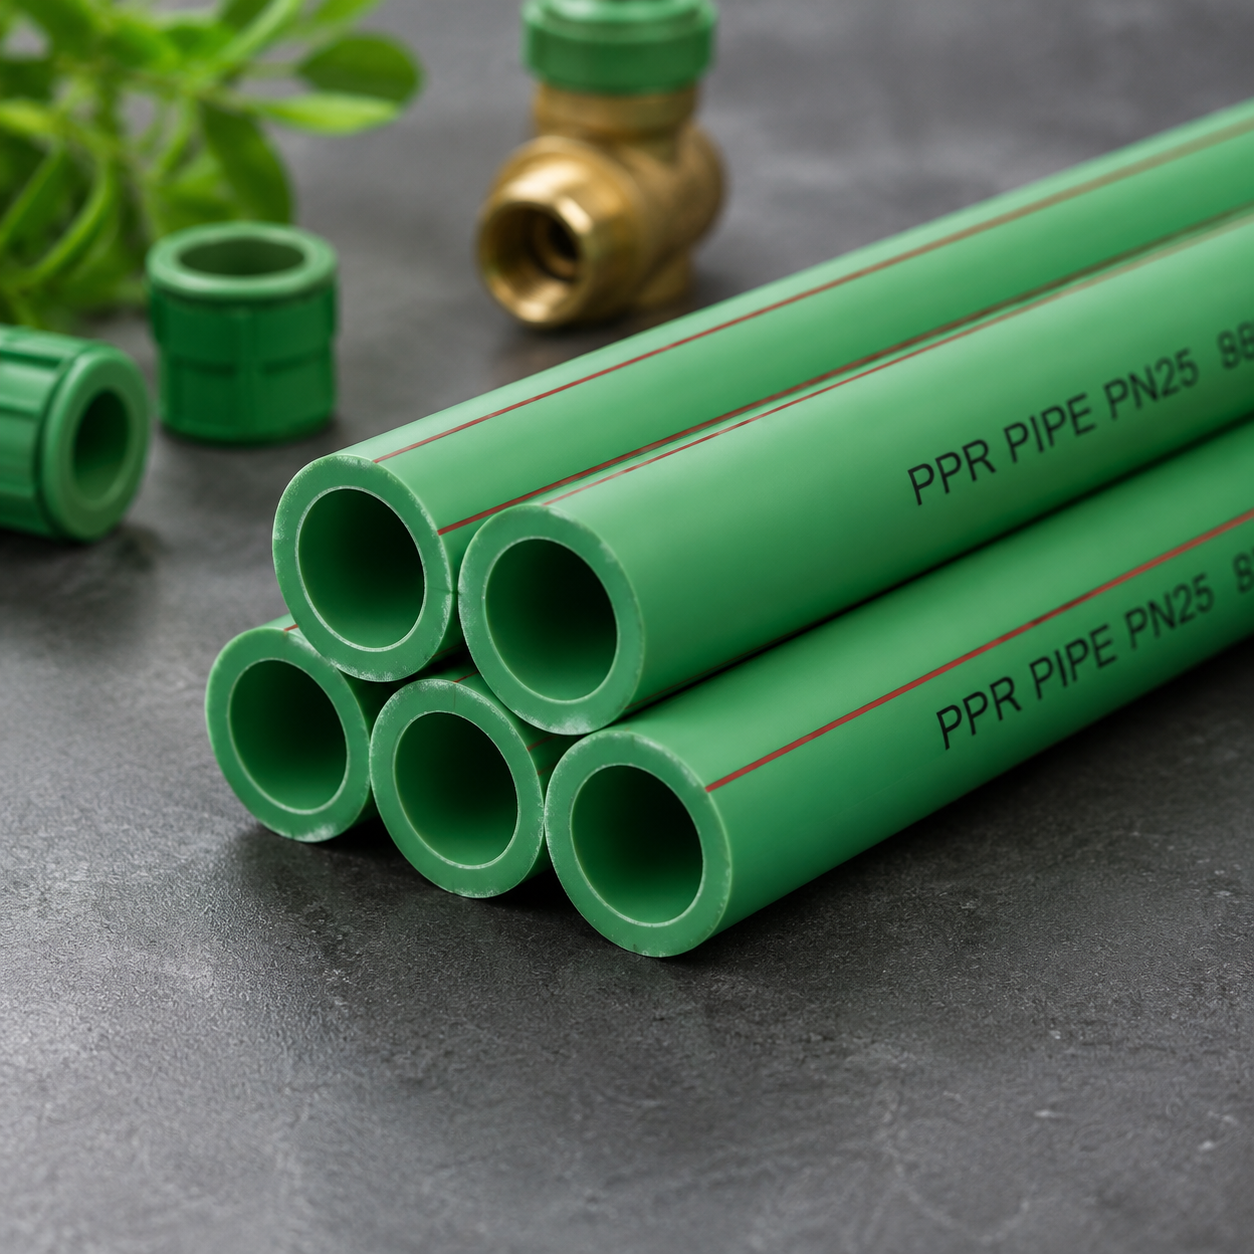
How to Install PPR Pipe: A Step-by-Step Guide for Homeowners and Professionals
Installing PPR (Polypropylene Random Copolymer) pipes is a cost-effective and durable solution for modern plumbing systems. Known for their heat resistance, chemical stability, and long lifespan, PPR pipes are widely used in residential and commercial applications. Whether you’re a DIY enthusiast or a professional plumber, this guide will walk you through the process of installing PPR pipes correctly to ensure a leak-proof and efficient system.
Understanding PPR Pipes and Their Advantages
PPR pipes are made from a type of plastic that combines strength with flexibility, making them ideal for hot and cold water supply lines. Unlike traditional metal pipes, PPR pipes resist corrosion, scale buildup, and chemical reactions, reducing maintenance costs over time. Their lightweight design also simplifies handling and installation, while their smooth inner surface ensures optimal water flow.
Key Benefits of PPR Pipes:
- Durability: Withstands temperatures up to 95°C (203°F) and pressures up to 25 bar.
- Corrosion Resistance: No rusting or scaling, even in hard water areas.
- Longevity: Lasts 50+ years with proper installation.
- Eco-Friendly: Recyclable and free from harmful chemicals like lead or PVC.
Tools and Materials Required for PPR Pipe Installation
Before starting, gather the following tools and materials:
Tools:
- PPR pipe cutter or hacksaw
- Measuring tape
- PPR welding machine (fusion welder)
- Deburring tool
- Adjustable wrench
- Marker or pencil
- Level and square (for alignment)
- Safety gloves and goggles
Materials:
- PPR pipes (in required diameters)
- PPR fittings (elbows, tees, couplings, etc.)
- Pipe supports or clamps
- Teflon tape (optional, for threaded connections)
- Insulation material (for hot water lines)
Step-by-Step Guide to Installing PPR Pipes
Step 1: Plan Your Layout
Begin by designing the pipe route. Avoid sharp bends and ensure proper slope for drainage if applicable. Mark the positions of fixtures, valves, and connections on walls or floors. Use a level to maintain straight lines and a square for right angles.
Step 2: Measure and Cut the Pipes
Measure the distance between fittings and add 1–2 cm for welding allowance. Use a PPR pipe cutter for clean, straight cuts. If using a hacksaw, deburr the edges with a deburring tool to remove sharp edges and prevent leaks.
Step 3: Dry-Fit the Components
Assemble the pipes and fittings without welding to check alignment and fit. This step helps identify adjustments before permanent connections are made.
Step 4: Heat the PPR Welding Machine
Turn on the fusion welder and set it to the recommended temperature for your PPR pipe size (typically 260–270°C). Allow it to heat up fully (usually 5–10 minutes).
Step 5: Weld the Pipes and Fittings
1. Insert the pipe end: Push the pipe into the heating element of the welder for the time specified by the manufacturer (usually 4–7 seconds, depending on diameter).
2. Heat the fitting: Similarly, heat the inside of the fitting (e.g., elbow or tee) for the same duration.
3. Join the components: Quickly remove both from the welder and press them together with a slight twisting motion to ensure even fusion. Hold for 5–10 seconds to set.
Pro Tip: Avoid overheating, as it can weaken the joint. Follow the manufacturer’s guidelines for heating times.
Step 6: Secure the Pipes
Use pipe supports or clamps every 60–80 cm to prevent sagging. For horizontal runs, space supports every 1 meter. Ensure clamps are tight but not over-tightened to avoid damaging the pipes.
Step 7: Pressure Test the System
After installation, perform a pressure test to check for leaks:
1. Close all outlets and fill the system with water.
2. Increase pressure to 1.5 times the maximum operating pressure (e.g., 15 bar for a 10-bar system).
3. Hold the pressure for 30–60 minutes. A drop of less than 0.1 bar indicates a successful test.
Step 8: Insulate Hot Water Pipes (Optional)
Wrap hot water lines with foam insulation to reduce heat loss and improve energy efficiency. Secure with tape or clips.
Common Mistakes to Avoid During PPR Pipe Installation
1. Inadequate heating: Underheating leads to weak joints, while overheating can deform the pipe.
2. Improper alignment: Misaligned pipes cause stress on joints, leading to leaks.
3. Skipping pressure testing: Always test the system before covering pipes or finishing walls.
4. Using incorrect fittings: Ensure fittings match the pipe diameter and type (e.g., hot vs. cold water).
5. Neglecting supports: Unsecured pipes may vibrate or sag, damaging joints over time.
Safety Precautions for PPR Pipe Installation
- Wear safety gloves and goggles when cutting or welding pipes.
- Work in a well-ventilated area to avoid inhaling fumes from heated plastic.
- Keep the welding machine away from flammable materials.
- Follow local plumbing codes and regulations for pipe sizing and installation.
Conclusion
Installing PPR pipes is a straightforward process when done correctly. By following these steps—planning the layout, measuring accurately, welding properly, and testing thoroughly—you can create a reliable and long-lasting plumbing system. Whether for a DIY project or professional installation, PPR pipes offer a sustainable and efficient solution for modern homes and buildings.
For complex projects or if you’re unsure about any step, consult a licensed plumber to ensure compliance with safety standards. With the right tools and techniques, your PPR pipe installation will provide years of trouble-free service.